The WordPress editor uses "blocks" or individual pieces of content that can be added and moved around independently of each other. These blocks are what you will use to edit pages and posts in WordPress. There are many different types of blocks that you can add and combine to create different layouts. For example, you may have a heading block, a paragraph block, two image blocks, and another paragraph block in your page or post.
Adding a Text Block
When editing a page or post, you can add regular text using a paragraph block, which is the default block if you start typing in your blog post.
-
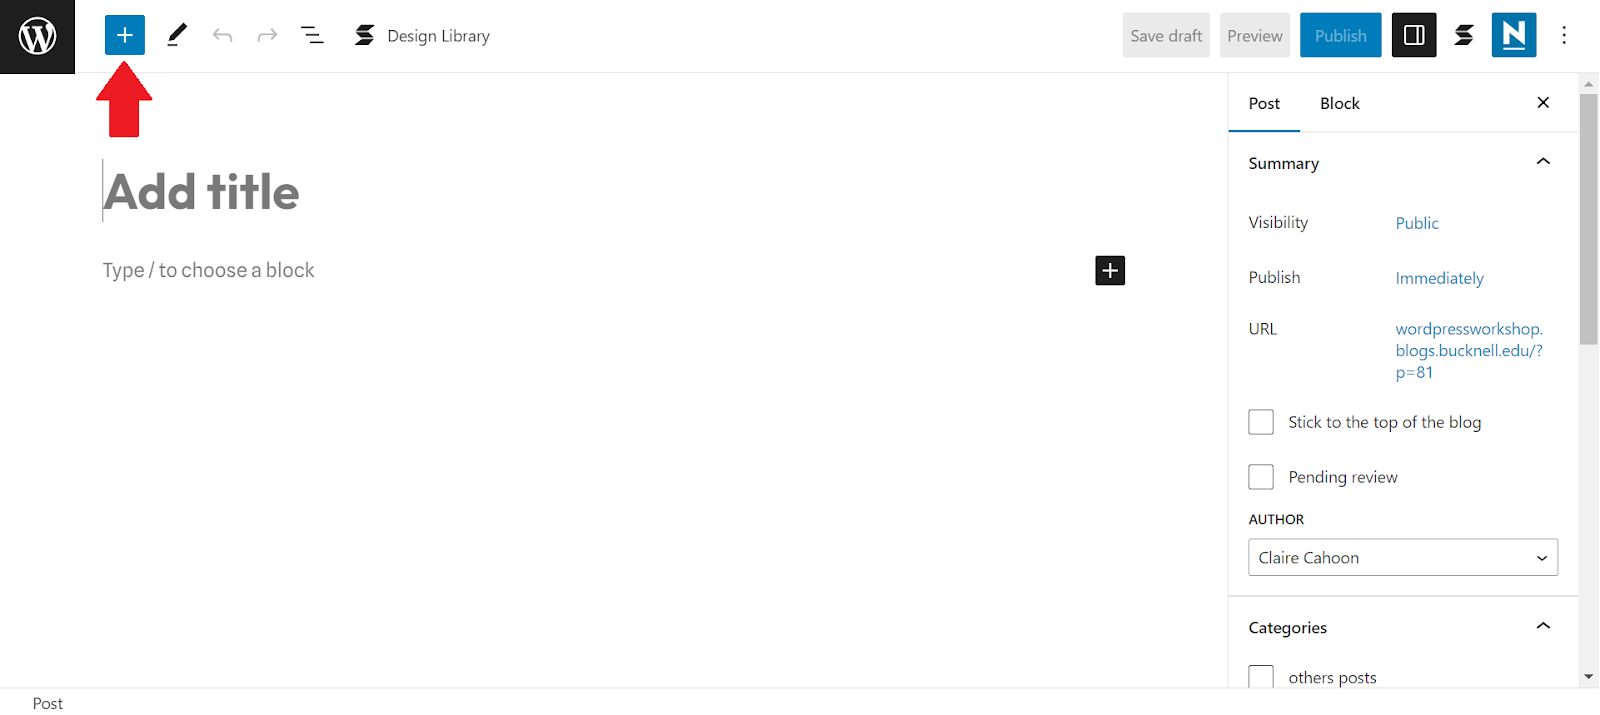
Click on the blue plus button in the top left corner.
-
A menu will appear on the left of the screen with all of the different blocks you can add. To add text, click on "Paragraph" or search for "text" or "paragraph" in the search box at the top.
-
A paragraph block will now appear in the body of your page (it may not look like anything has changed because paragraph blocks are the default block type on the page). You can type in text and format it inside the block. As you type, each time you hit Enter, you will create a new paragraph block.
Formatting Blocks
Once you have added any block, there are two ways to format the contents. For a paragraph block:
-
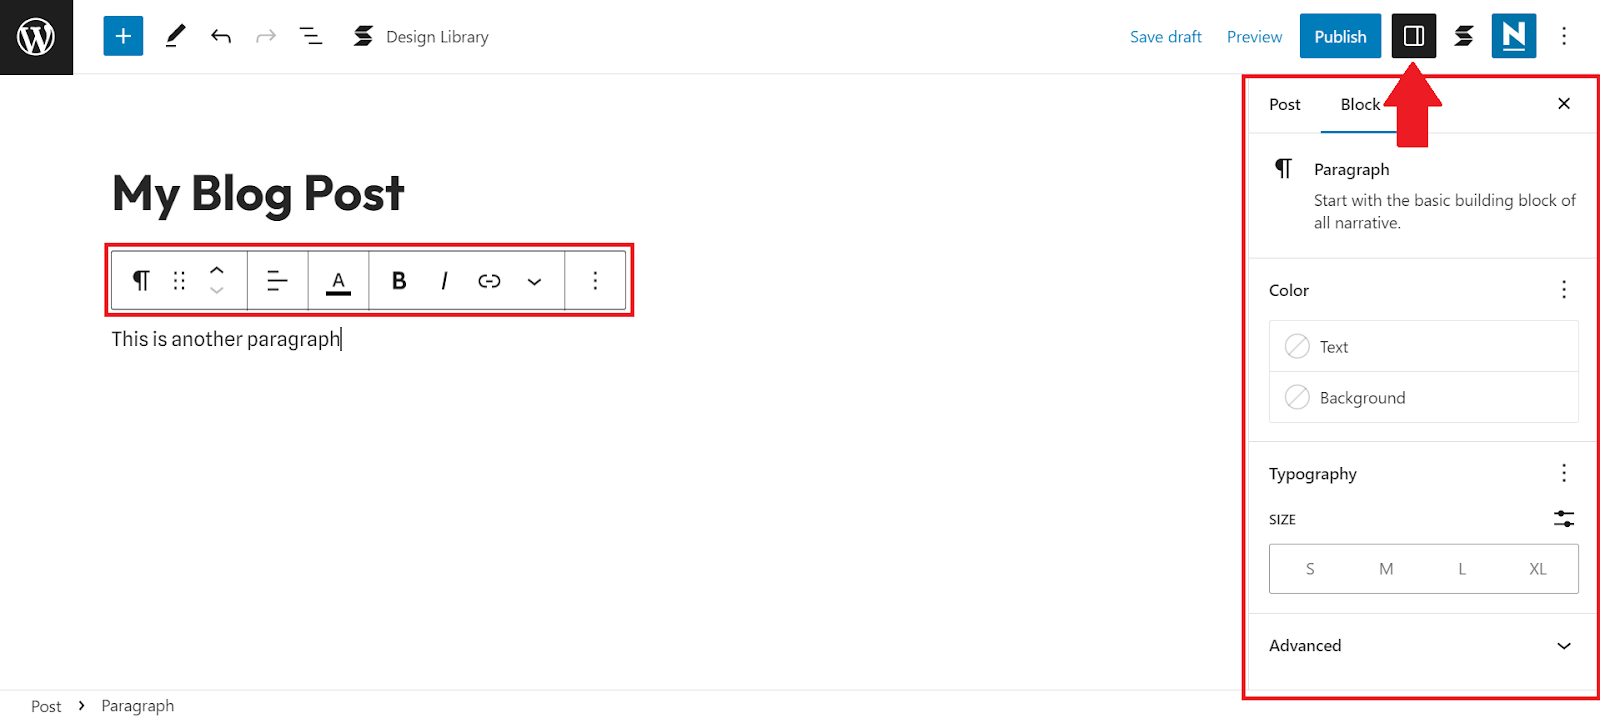
There is a menu that hovers just above the block with basic editing tools like bold, italics,text color, and links.
-
There is a settings menu on the right side of the screen with additional options like background color, font size, and more. If you do not see this menu, click on the square settings icon in the top right corner of the page.
Creating Links
To add a link to your page, start with text inside a paragraph block or an image that you would like to add a link to:
-
Highlight the text you would like to make a link and click on the link icon in the formatting menu just above the block.
-
Type of copy and paste a URL in the text box, then save using the Enter key or by clicking on the arrow next to the text box.
-
To make edits, click on the link and then the pencil icon in the link preview.
-
From there, you can edit the display text and the URL.

Make sure that you use descriptive links on your website to make it more usable and accessible! Descriptive links describe where the link is going instead of listing the whole URL or using "click here." For example, try "See the Bucknell Home page" instead of "See the Bucknell Home page here."
You can read more about descriptive links and other accessibility best practices in our Digital Accessibility Basics guide.
Adding Headings
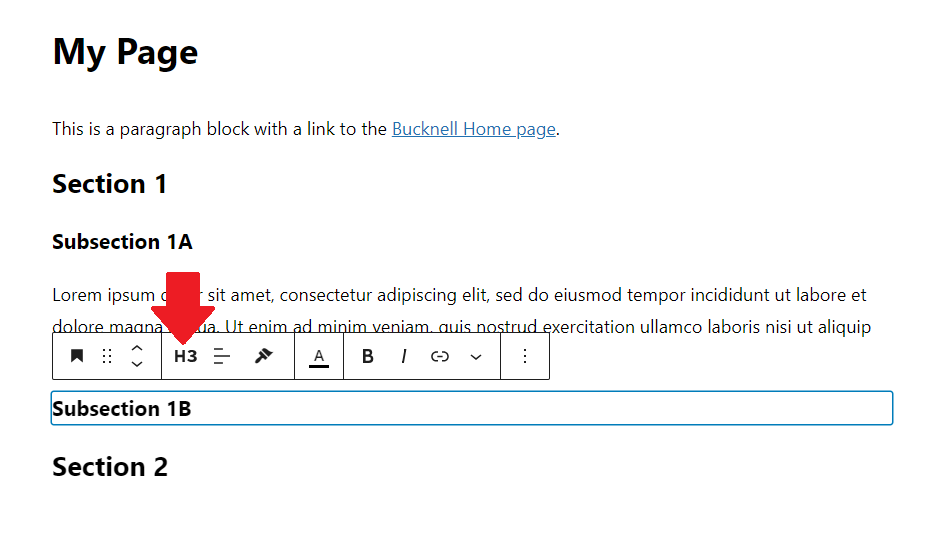
The heading block adds headings that add structure to your document. This is a great way to organize your page visually and for increased Accessibility (read more in the Digital Accessibility Basics guide). Make sure that you use the numbered headings in order (use a heading 3 for subsections under a heading 2), and use them for page structure and not just to make your text stand out (there are other, better ways to do that!).
-
Add a new block and choose a Heading block.
-
Type the name of your heading section and choose the heading level (start with H2 and then use one level higher for each subsection).
Adding Images
From a page or post, you can add images by uploading new ones to use any that have been uploaded to your Media Library. If you upload a new image, it will also be stored in your Media Library for future use.
-
Add a new block and choose the "Image" block from the list.
-
There are three ways to include an image:
-
Upload from your computer (if you have the image saved to your photos library or downloaded).
-
Media Library (all uploaded images are saved in the Media Library, so if you have already used the image once, you can find it here).
-
Insert from URL (if you are linking to an image from a URL).
-
Choose "Media Library" and select the image that we uploaded and described earlier.
-
Now that you have an image in your page, you can change the settings and add additional information using the menu just above the block or in the settings pane on the left of the screen.
-
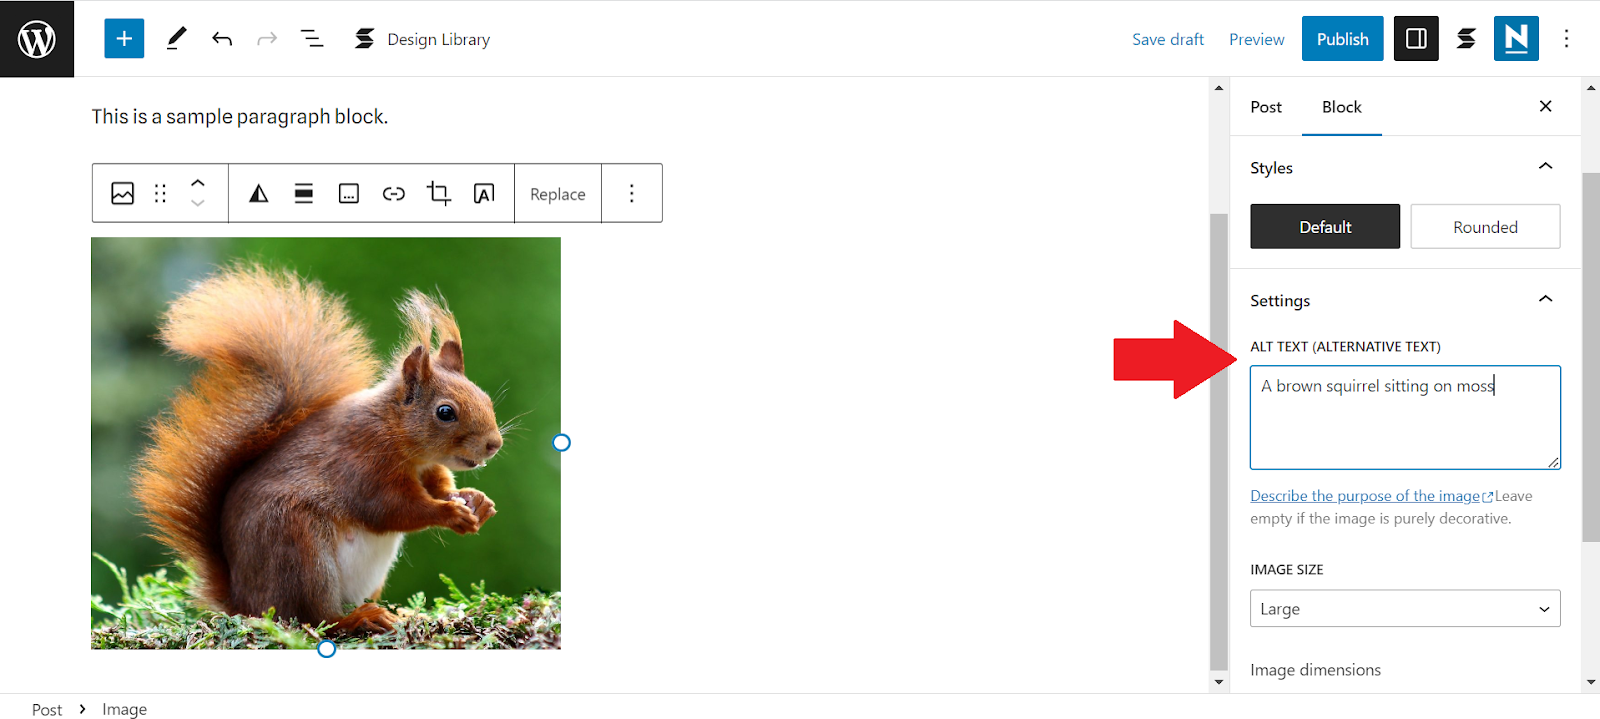
Make sure you include Alt Text, which describes your image to anyone who uses assistive technology or can't see the image. Alt text can be found in the settings menu on the right.
For more about adding and managing media, watch the LinkedIn Learning Video WordPress 5 Essential Training: Media Library.
Adding Videos
You can add several types of videos to your WordPress site, including but not limited to YouTube videos, Kaltura/Mediaspace videos, and your own video files.
If you have trouble embedding a video or other media and WordPress says to contact your administrator, email Digital Pedagogy & Scholarship at dps@bucknell.edu to activate the ability to embed on your site.
YouTube Videos
-
Add a new block and choose the YouTube block.
-
Find the YouTube video you would like to embed, and copy the URL from the URL bar or from the "Share" button under the video.
-
Paste the URL into the box that says, "Enter URL to embed here" in WordPress and click "Embed."
Kaltura/Mediaspace Videos
-
Add a new block and choose the Custom HTML block.
-
Find the Mediaspace video you would like to embed.
-
On the page for the video in Mediaspace, go to the tabs underneath the video title and choose "Share" and then "Embed."
-
Copy all of the text in the box (should start with "<iframe").
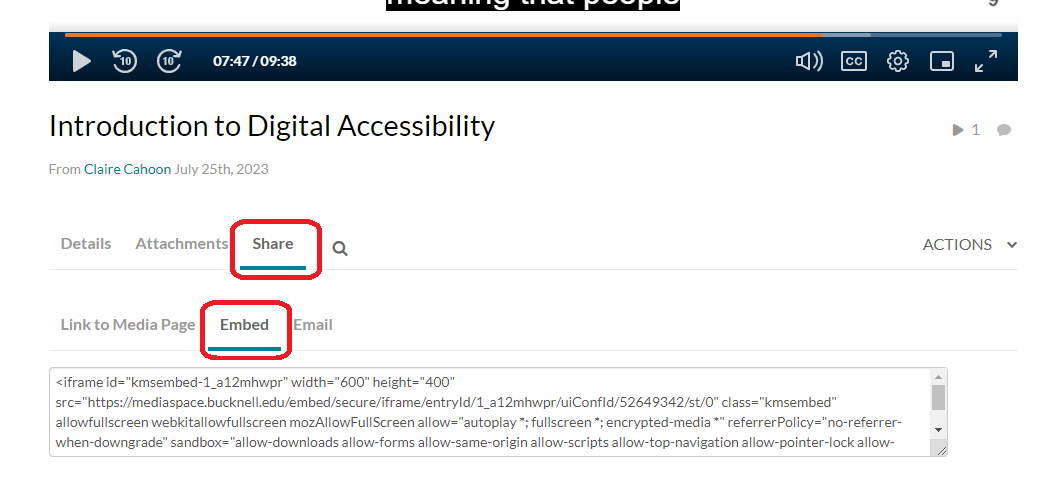
-
Paste that text into the Custom HTML box in WordPress.
-
When you preview or public the page, the video will be embedded, but the editing page will continue to show the <iframe> code.
Video File
-
Add a new block and choose Video.
-
Choose a video file from your computer using the "Upload" button or from your Media Library with the "Media Library" button.
-
Adjust the settings using the menu above the block or in the additional settings menu on the right of the page.
Creating Columns and Groups
To create a different layout on your page, you can also add Design blocks such as columns, groups, spacers, and more.
To create a two column layout:
- Add a new block and choose "Columns."
- Choose how many columns you would like and their spacing. For two evenly sized columns, choose "50 / 50."
- Now, you will have two side-by-side sections to add blocks and content to.
If you want to see a more specific view of what is inside each column, you can use the list view described below in the "Moving and Reorganizing Blocks" section of this article.
If you want additional design or formatting features, you can try the Patterns tab in the menu when you add a new block or see our WordPress Plugins FAQ for recommended plugins that provide additional formatting options like adding padding, margins, fonts, and colors.
Moving and Reorganizing Blocks
There are two ways to move blocks around in your page or post after you have created them.
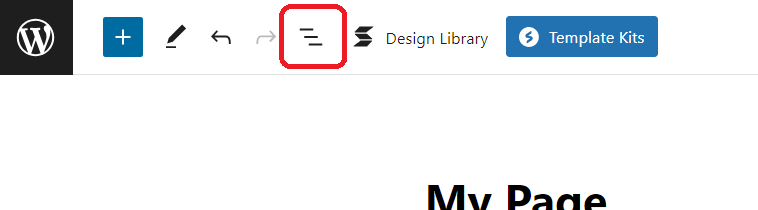
To use the list view:
-
Click on the list view icon at the top left of the page (three lines).
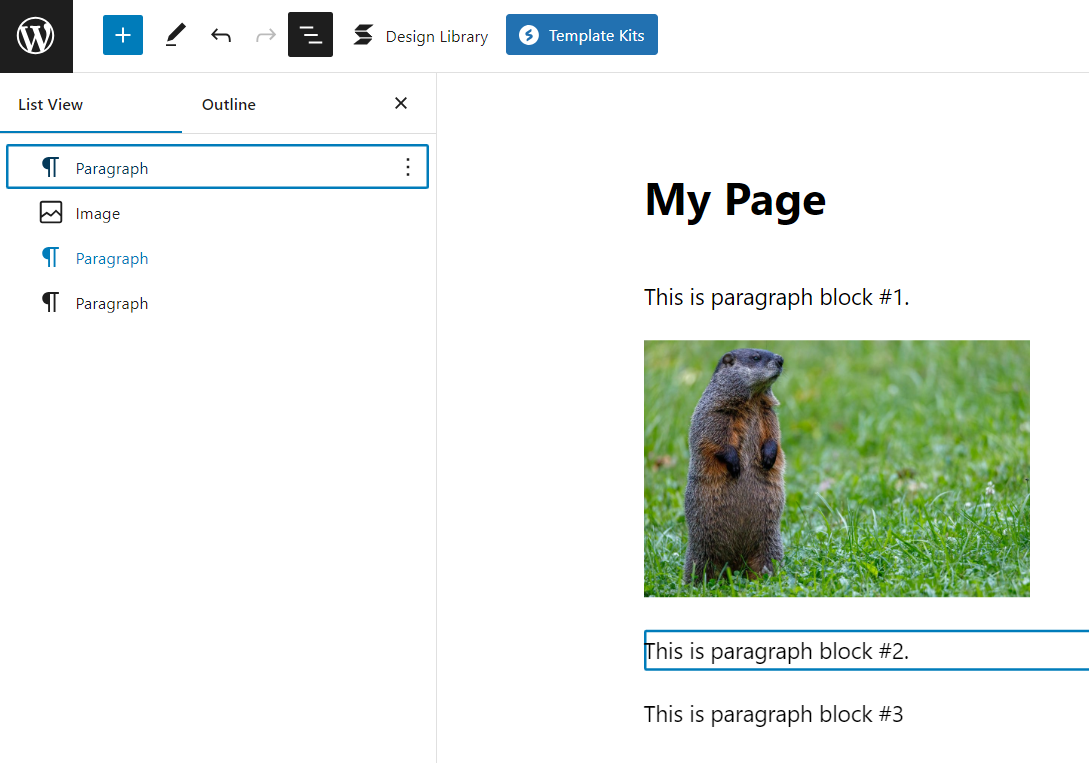
-
This will open the list view that shows each block on the page, including any nested blocks. Click on the three dots next to each block in the list for options like "Remove" and "Duplicate." Click and drag the blocks to move them into a different order.
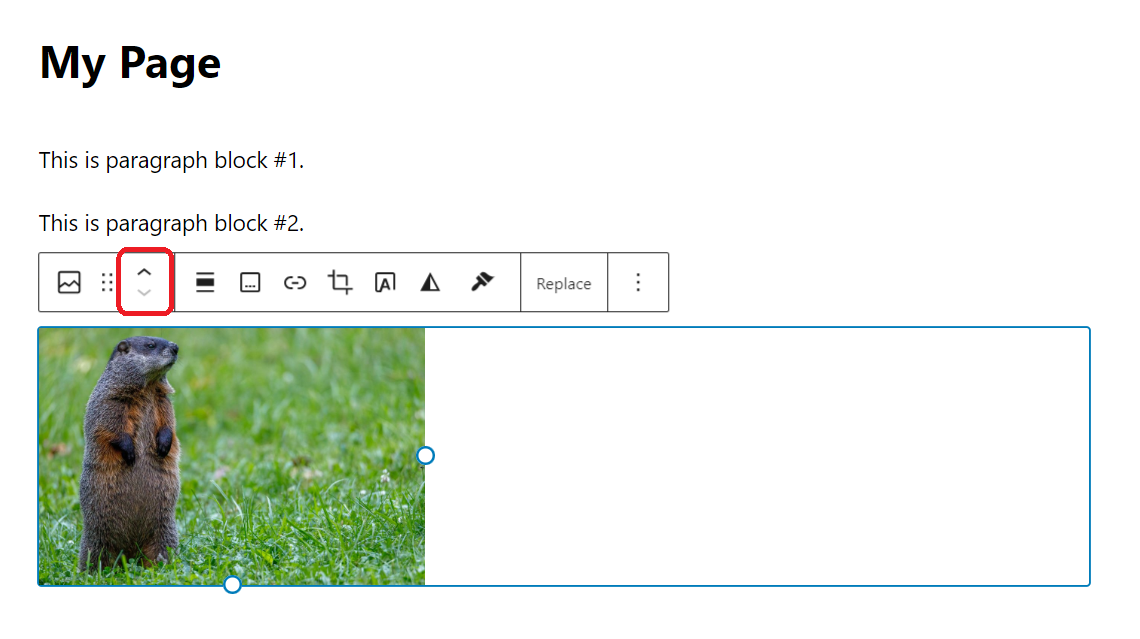
To use the individual block controls:
-
Click inside of the block that you want to move.
-
In the settings menu that appears just above the block, click on the up and down arrows to shift the block up or down by one block.
Previewing and publishing
Once you are finished editing, you will want to preview your work and then save it as a draft or publish it. All three of these options are located in the top right corner of the page or post you are editing.
WordPress does not automatically save your work, so be sure to always save or publish your pages and posts!
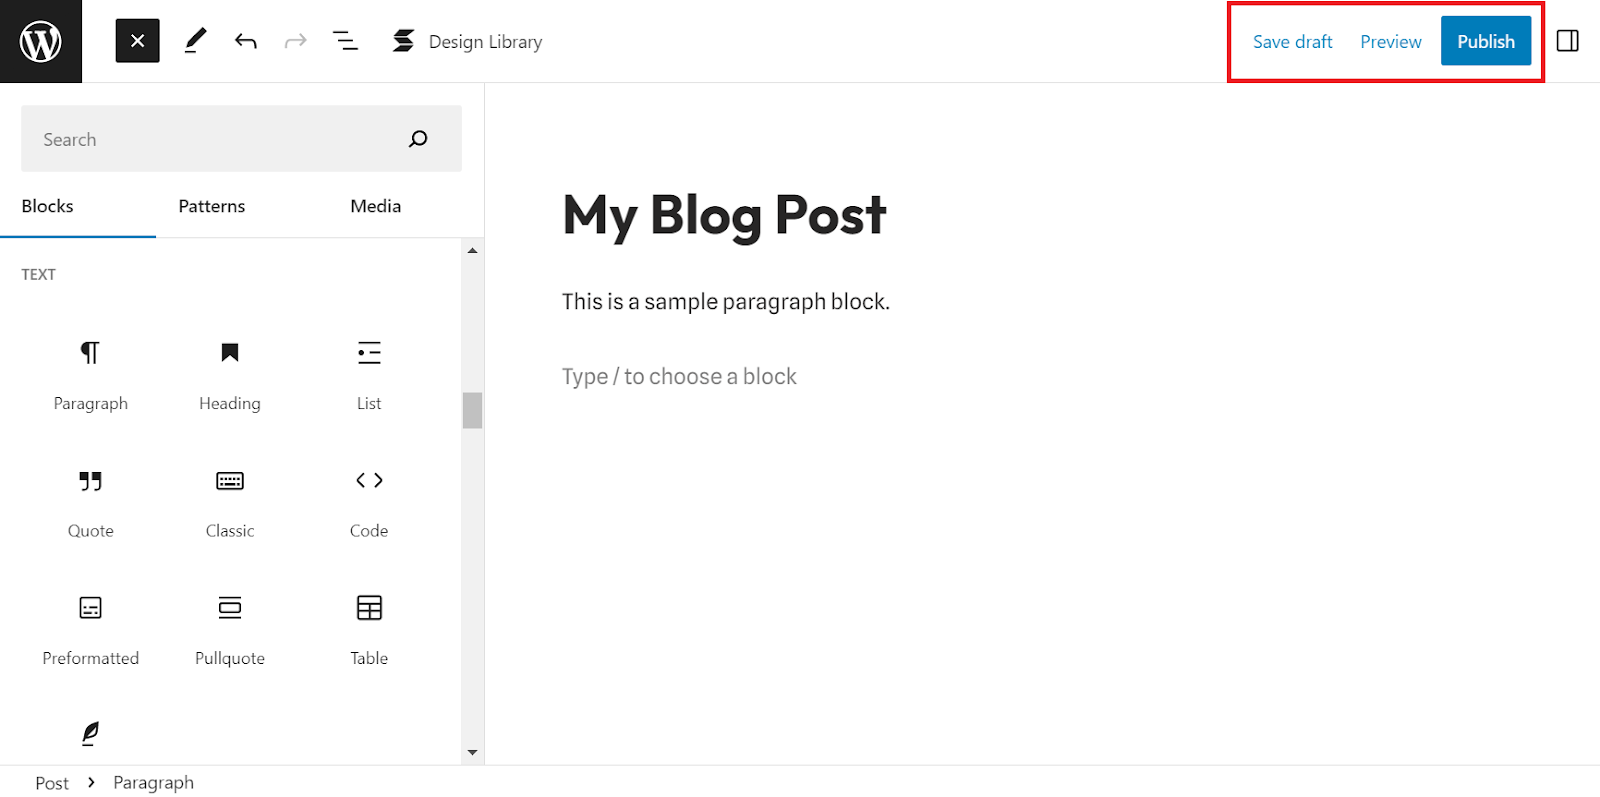
Previewing
After you have added content, you will want to preview what your additions will look like on the actual site. The preview will probably look slightly different than the version in the editor because the site's theme formatting has been applied. If you have specific formatting, sizing, or line breaks in mind, be sure to check the preview!
From the page or post that you want to preview:
-
Click on the blue text that says "Preview" in the top right corner.
-
Click on "Preview in new tab" and a preview of your post will open in a new browser tab.
Note: this view is only a preview and will not publish your post!
Saving as a Draft
If you would like to save your work without publishing, click "Save draft" in the top right of the page to save your post as an unpublished draft. Once a post is published, this button will change to "Switch to draft," which will turn a published post into an unpublished draft.
Drafts are not "live" on the website, but all of your edits and changes are saved.
Publishing
After you have edited your page or post and you are ready to add it to your site, you will need to publish it.
To publish your post, click on the blue "Publish" button in the top right corner of your post in the editing view. Once you have published the post, this button will say, "Update" and will publish any new changes to the post.
Where can I get help with WordPress?
For general WordPress questions, email techdesk@bucknell.edu or stop by the Tech Desk on the first floor of Bertrand Library.
From there, Digital Pedagogy & Scholarship can help you with your WordPress site. We offer consultations to help you get started with a WordPress site, discuss site structure and usability, offer plugin options, or troubleshoot with the WordPress interface. Contact our department directly using our main email: dps@bucknell.edu
To learn more about using the block editor, see these resources:
To learn more about getting started with a WordPress site, see our WordPress FAQ page.